Fixing Low Water Pressure in a Well System: A Step-by-Step Guide
Low water pressure in a well system can be more than just an inconvenience, it can disrupt daily life and signal bigger issues within your plumbing or well setup. From weak showers and slow-filling washing machines to reduced irrigation performance, poor water pressure can throw your home’s water usage off balance.
Fortunately, most low pressure problems can be diagnosed and resolved with a bit of knowledge and a hands-on approach. This comprehensive guide walks you through the common causes of low water pressure in well systems and provides clear, actionable steps to help restore strong, consistent flow to your household.
What Causes Low Water Pressure in a Well System?
Before attempting any fixes, it’s essential to identify the root cause of the pressure drop. Common culprits include:
- Dirty or clogged sediment filters
- Pressure tank issues (low air pressure or waterlogging)
- Faulty or misadjusted pressure switches
- Old or underperforming well pumps
- Leaks in your plumbing system
- Sediment or scale buildup inside pipes
- Increased household water demand
Each of these issues can disrupt your water supply differently. The key is to systematically inspect each component until you find the weak link in your system.
Step 1: Measure Current Water Pressure
Start by understanding how low your water pressure actually is.
How to Check It:
- Locate the pressure gauge on your pressure tank, typically found near the well pump.
- The needle should rest between 40 and 60 psi under normal operation.
- Turn on multiple water fixtures to see if the pressure drops significantly.
If your pressure consistently stays below 40 psi, that’s a clear sign your system needs attention.
Step 2: Inspect and Replace Filters
Sediment filters are designed to trap sand, silt, and debris, but if they get too dirty, they choke water flow altogether.
What to Look For:
- A whole-house sediment filter, typically located after the well pressure tank
- Clogged faucet aerators or showerheads
- Inline cartridge filters on specific appliances or fixtures
Fix:
- Replace any filter cartridges if they appear brown, clogged, or slimy.
- Clean faucet screens and shower heads with vinegar to remove mineral deposits.
Tip: Mark your calendar to check filters every 3–6 months, or more often if you have a high sediment load.
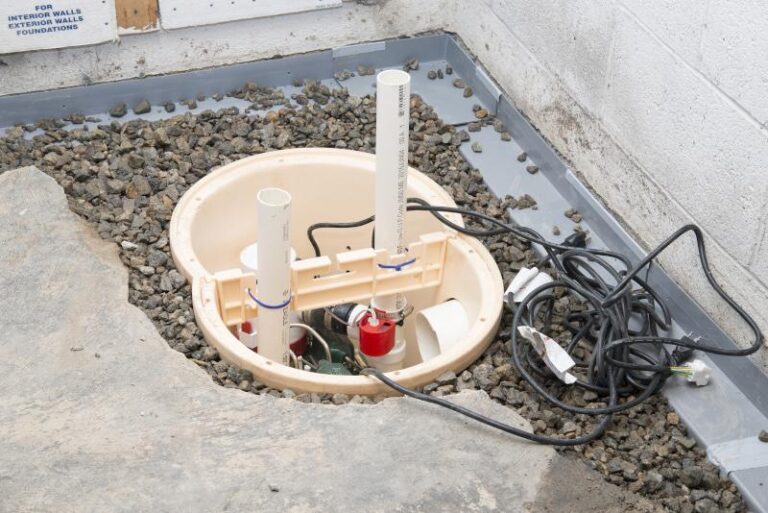
Step 3: Check and Recharge the Pressure Tank
A well pressure tank stores water and regulates system pressure. If the tank is waterlogged (meaning it has too much water and not enough air), it can cause your pump to short cycle and reduce pressure.
How to Diagnose:
- Turn off the pump’s power at the breaker box.
- Drain the tank completely using a hose or faucet.
- Locate the air valve (looks like a tire valve) at the top of the tank.
- Use a tire gauge to check air pressure.
Fix:
- If the pressure is low, use an air compressor or bike pump to inflate it to the correct level.
- If the tank is completely waterlogged, you may need to replace it.
Step 4: Adjust the Pressure Switch Settings
The pressure switch controls when your well pump turns on and off. If it’s set too low, you’ll experience weak water flow even if your pump is working perfectly.
How to Adjust It Safely:
- Turn off the power to your well pump system.
- Remove the metal or plastic cover on the switch (mounted near the pressure tank).
- Locate the two adjustment nuts:
- The larger nut raises both the cut-in and cut-out pressure.
- The smaller nut adjusts only the cut-out pressure.
- Turn the large nut clockwise to increase pressure in 2–3 psi increments.
- Replace the cover, turn power back on, and test your water flow.
Warning: Don’t raise the pressure above 70 psi unless your system is designed for high pressure.
Step 5: Look for Hidden Plumbing Leaks
Even a small leak can dramatically lower pressure, especially in older homes or outdoor irrigation systems.
Signs of Leaks:
- Constant dripping sounds behind walls or in the basement
- Soft or wet spots in the yard (potential underground leak)
- An unexplained rise in your electricity bill (pump running more than usual)
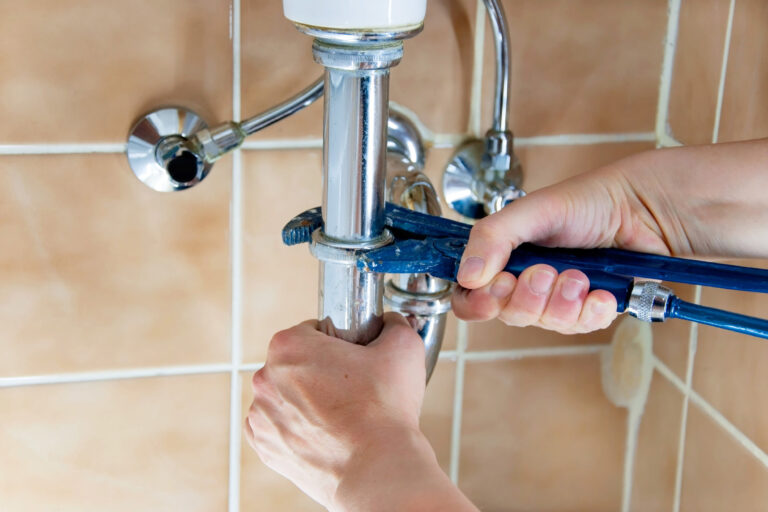
How to Fix:
- Tighten any loose connections you can see.
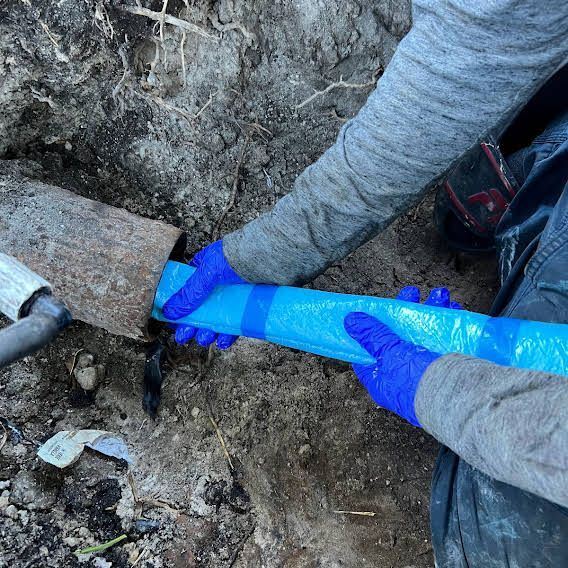
- Replace worn washers, corroded fittings, or damaged PVC piping.
- For underground or inaccessible leaks, call a plumber to pressure-test your system.
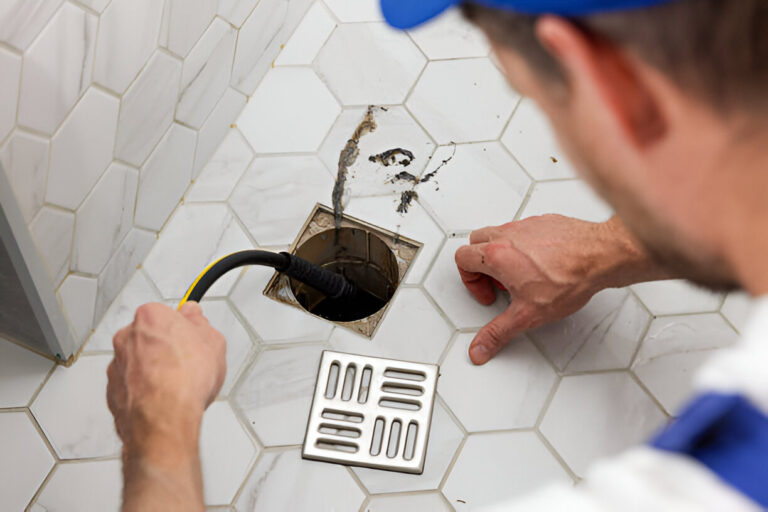
Step 6: Flush Your Plumbing System
Over time, minerals and sediment can build up in your pipes, restricting flow. This is especially common in older systems or homes with hard water.
Steps to Flush:
- Open all indoor and outdoor faucets at once.
- Let water run for 10–15 minutes to help dislodge and flush out debris.
- Shut off faucets starting from the lowest level and work your way up.
Tip: If your water runs brown or gritty, consider adding a sediment trap or installing a water softener.
Step 7: Evaluate Your Well Pump’s Performance
Your well pump is the heart of the system. If it’s worn out or undersized, it won’t deliver the flow and pressure you need.
Common Pump Problems:
- Short-cycling: Pump turns on/off rapidly due to pressure tank issues.
- Low flow rate: Pump can’t keep up with household demand.
- Old age: Most well pumps last 8–15 years.
When to Call a Pro:
If you’ve tried all the above steps and pressure is still low, a licensed well technician can:
- Test your pump’s drawdown and flow rate
- Inspect the pump motor and impellers
- Recommend a replacement or upgrade if necessary
Step 8: Upgrade to a Constant Pressure System
If your home uses water at multiple points (e.g., showers, laundry, dishwasher) and you notice pressure drops when several fixtures are on, a constant pressure system may be the long-term solution.
How It Works:
- Uses a variable speed pump controller to maintain consistent pressure
- Adjusts speed based on demand
- Prevents pressure drops during peak usage
Advantages:
- More stable pressure throughout the day
- Quieter operation
- Longer pump life due to fewer on/off cycles
Cost: While these systems cost more upfront (typically $1,500–$3,000 including installation), they provide a modern, reliable water pressure solution for high-demand households.
Bonus Tips to Improve Pressure
- Use wider pipes: Upgrading narrow pipes (especially older galvanized ones) to modern PVC or PEX can improve flow.
- Install a booster pump: A booster pump can raise pressure for large homes or multistory buildings.
- Schedule routine maintenance: Annual inspections of your well, tank, and plumbing can prevent future problems.
Final Thoughts: Don’t Settle for Low Water Pressure
Living with low water pressure is frustrating, but it’s rarely a problem without a solution. From something as simple as replacing a dirty filter to upgrading your pressure system altogether, there are many ways to get your well water system flowing strong again.
By working through these step-by-step troubleshooting tips, you’ll not only improve your home’s water pressure but also extend the life of your plumbing and pump system. When in doubt, consult a licensed contractor to keep your water system healthy, safe, and efficient.
Need Help from a Local Pro?
If you’re tired of low water pressure or worried about your well system’s performance, it’s worth reaching out to a licensed plumber or well technician near you. Many offer free inspections or consultations to get you started on the right path. For trusted HVAC and plumbing support in Iowa, many homeowners turn to Des Moines Drain & Sewer for honest advice and reliable installation services.